I swear: My college neurobiology final wasn’t half as hard as figuring out how to go gluten-free!

Between all the books, blogs, recipes, and reading… Not to mention hours spent on Pinterest, taunted by pictures of gourmet gluten-free pastries and “quick and easy” dinners like Teriyaki Tofu Soba Noodles (Flavored with Kale and Coconut)…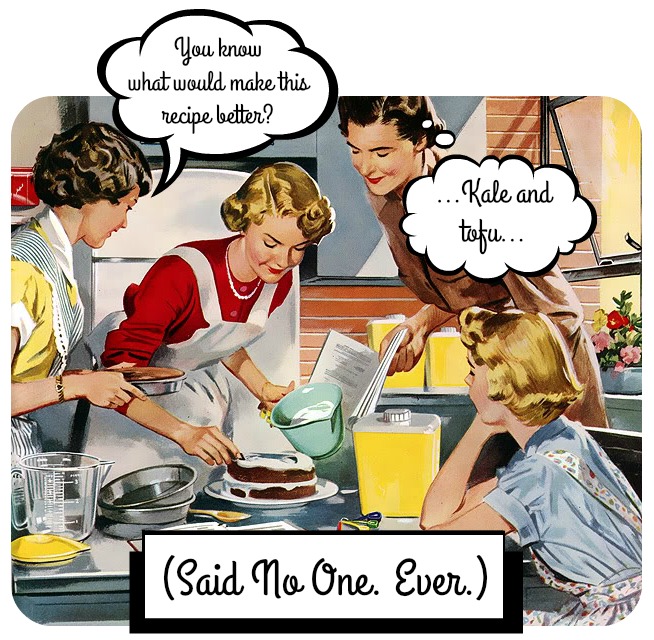
…Let’s just say my first few attempts weren’t that successful.

And then it hit me: Just stick with the basics! I mean, sure, the meals I settled on aren’t exactly Instagram-worthy – but, hey! At least they’re quick, easy, and gluten-free! :)

So – since social support is one of the most important factors in promoting psychological resilience (you guys didn’t think I was lettin’ ya outta here without any nerdy science, did you?!) – I need everyone to get on board! :) That’s why I’ve outlined my entire menu/meal prep process so we can all suffer succeed together ♥

*Full Disclaimer: I may or may not have called my mom, prior to this post, and asked if there was a difference between green beans and peas…

(And, since we’re coming clean: I also spent November-December embroiled in a heated tête-à-tête over whether or not pizza needs to be refrigerated…)

So, ya know, for detailed nutritional advice you might wanna phone a friend ;)
But I’ll do my best to help! ♥
Simple gluten-free shopping
You’ve probably heard this one before, but always stick to the outside/perimeter of the store. The middle aisles are a serious danger-zone of processed foods! (Note: Most places have a fancy gluten-free aisle. But it’s super easy to get lost in there – and, if you’re a newbie, you’ll probably just end up walking away with two boxes of gluten-free cake mix and crackers.)

Prices will vary but, starting from scratch – minus the spices, I had most of those – my grocery bill for the items below was around $80. (For tips on pinching pennies, check out: How to Start Couponing and Clean Eating. You might also be interested in: When Is It Important to Buy Organic?.) Everything should get you through 5-7 days (minus the chicken – you’ll need to buy more after 4 days). You might also need to grab an extra cucumber, some more salad stuff, and/or a few berries depending on how much you eat each day.
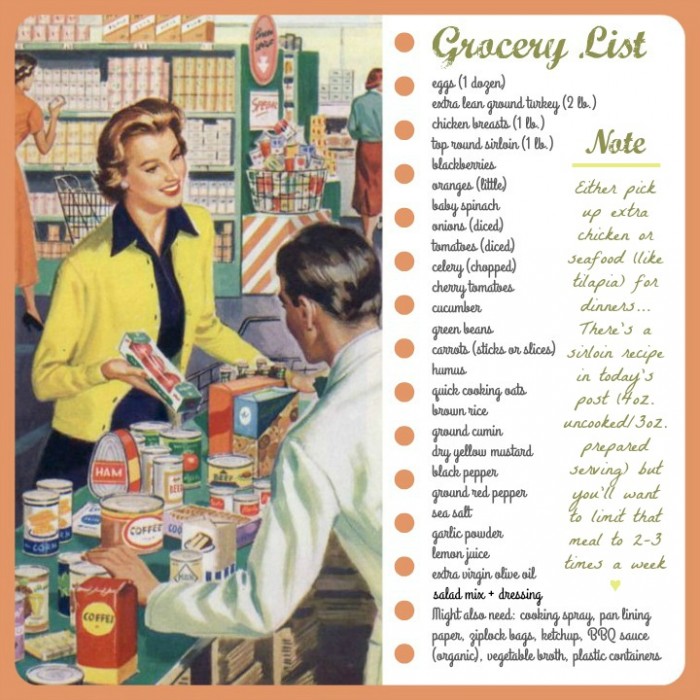
Super simple gluten-free menu
Again, I’m not the fanciest cook (or food photographer!) but here are my basic meals:
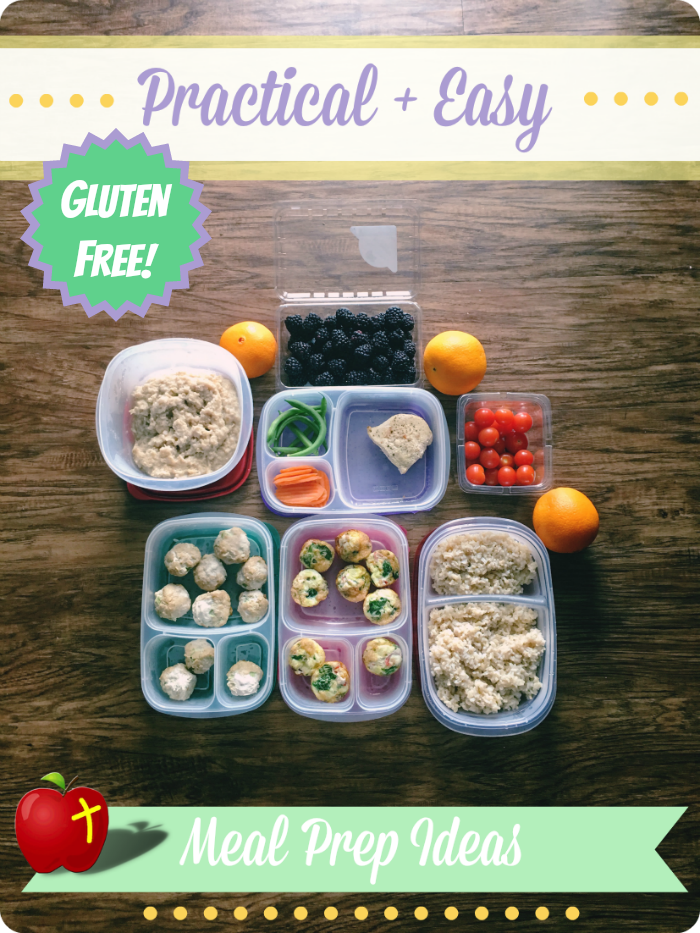
(Not pictured: cucumber with humus, steak/tilapia with salad.)
The meal prep process detailed below will help you make the following:
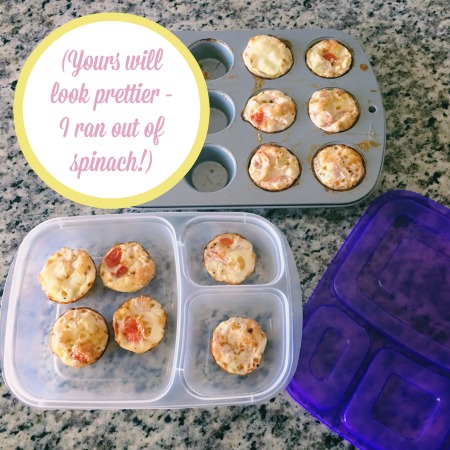
- BREAKFAST: Mini egg muffins with blackberries and oatmeal
- SNACK: Mini turkey muffins with cherry tomatoes
- LUNCH: Baked chicken with brown rice, green beans, and carrots
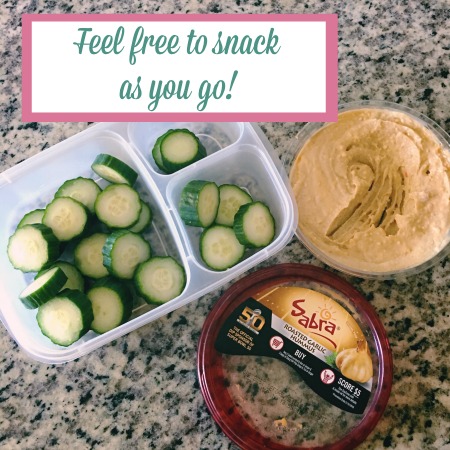
- SNACK: Cucumber with humus
- DINNER: Steak or seafood with salad*
- SNACK: Orange :)
*Note: There’s no cooking instructions for this meal, as you’ll prepare it fresh each night – preferably with a tiny bit of coconut oil or EVOO.
Here’s a breakdown of how much each recipe yields:
- Mini Egg Muffins (12)
- Oatmeal (2 cups)
- Mini Turkey Muffins (24)
- Chicken Breast with Veggies (4 servings)
- Brown Rice (2 cups)
- Steak with Salad (4 servings)
Don’t forget: You’ll want to buy extra chicken and/or seafood (like tilapia) to alternate for dinner. I like having steak 2-3 times a week (the instructions below call for 4 oz. portions, which equals roughly 3 oz. per cooked serving – so that puts me at 6-9 oz. of red meat a week), but it’s completely up to you! Some people might feel more comfortable skipping red meat all together.
Meal prep process
If you’re new to meal prepping, you might wanna invest in a few containers…
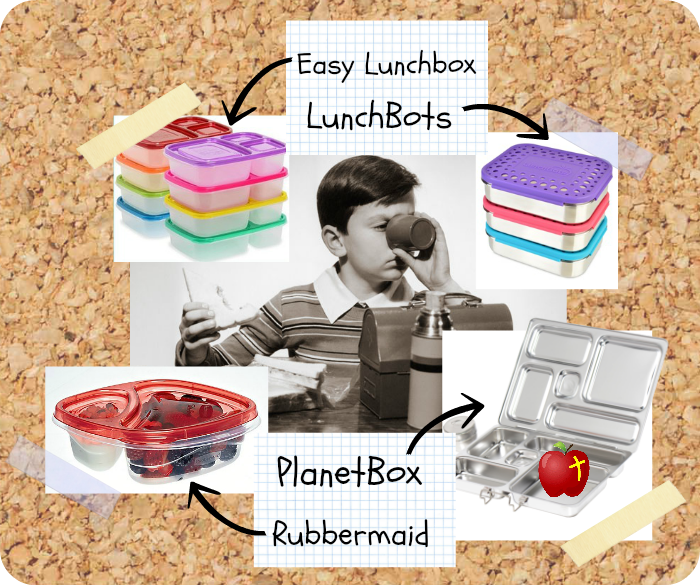
Some of the more popular options include: Easy Lunchboxes (the kind I use), PlanetBoxes, Rubbermaid TakeAlongs, and LunchBots.
After you have a plan for storing your food, it’s time to start cooking! :)
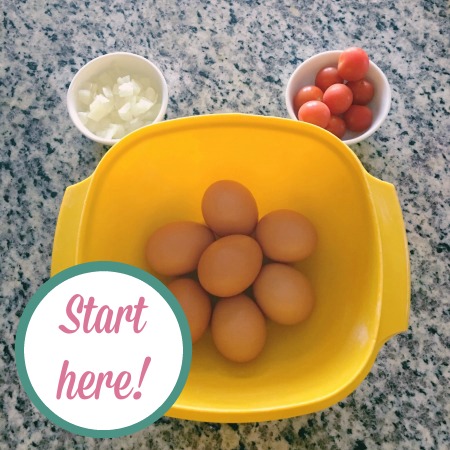 1. Preheat oven to 350 degrees
2. Warm a small handful of spinach in a sauté pan until it’s wilted (I do this while completing the next step)
3. Spray mini muffin tin with cooking spray
4. Mix together: (7) egg whites, spinach, diced onion, tomatoes, and garlic pepper
5. Pour mixture into tin, pop into the oven, and set timer for 35 minutes
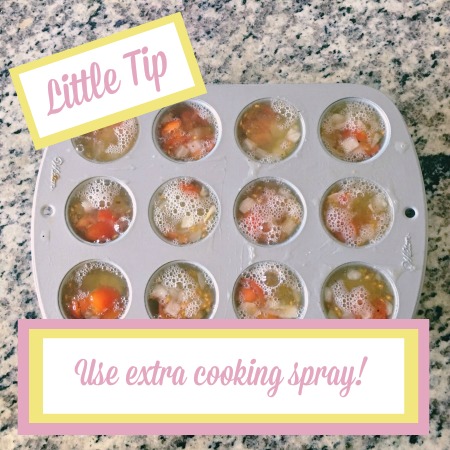 6. Now it’s time for turkey! Spray another mini muffin tray with cooking spray (I like to use a lot!)
7. Get out a Ziplock bag and label it, “Turkey Muffins [Date]”
8. Mix together: (1) lb. turkey, (2) egg whites, (1/2) cup oats, (1/4) tsp. cumin, (1) tsp. ground mustard, (1) tsp. pepper, (1) tsp. ground red pepper, (1/2) tsp. salt, (1) tbsp. garlic powder, (1) small onion (diced), and (2) stalks of celery (chopped)
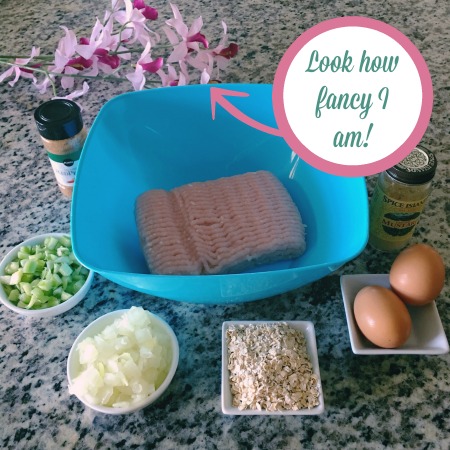 9. Roll turkey mixture into balls and set in mini muffin tray
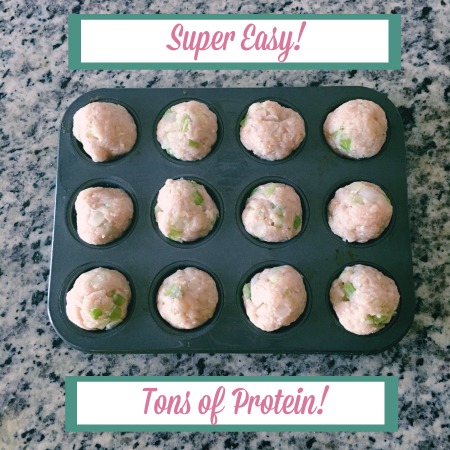 10. Place extras in Ziplock bag and store in freezer
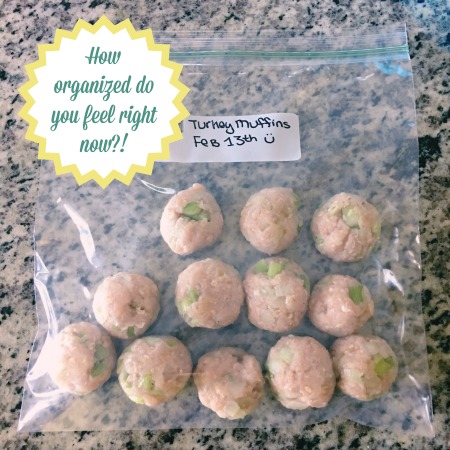 11. You should be right on schedule to take out your egg muffins any minute! As soon as you do, increase the oven temperature to 375 degrees and pop in the turkey muffins (set the timer for 23 minutes)
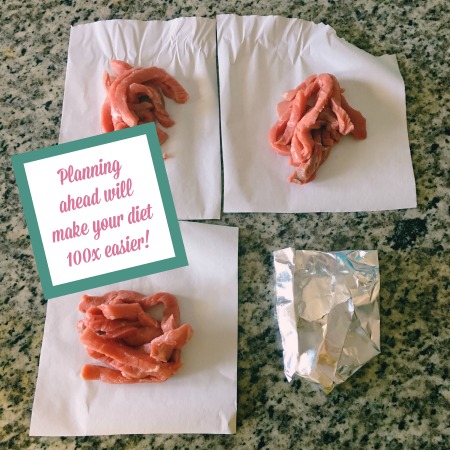
12. Let the egg muffins cool in their tray while you get out the top sirloin, pan lining paper, and another Ziplock bag (label it: “Sirloin [Date]”)
13. Cut four pieces of lining paper, divide the sirloin into four sections, wrap up (I fold the corners in), place in the Ziplock bag, and freeze (make sure you put one in the frig so it’ll be ready for tonight!)
 14. Now let’s focus on the starches: Boil (2) cups of water in one pan and (3) cups of water in another (don’t forget to add a dash of salt)
15. Go ahead and get out (2) cups of brown rice and (2) cups of oats
16. While you’re waiting for the water to boil, put your egg muffins into plastic containers (you might want to use a knife to loosen them out of the tray)
 17. I like to take any extra time here to clean up the kitchen and/or organize my frig (now would also be a good time to slice that cucumber for your humus snack)
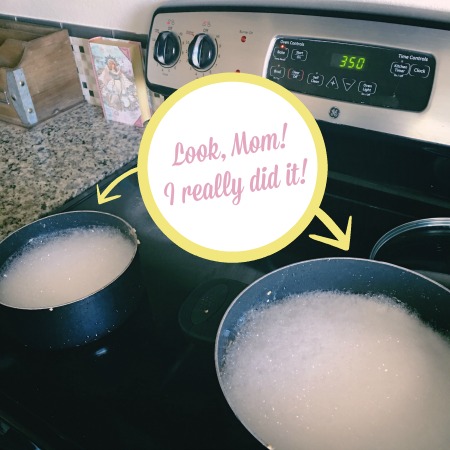
 18. Once the water’s boiling, put (2) cups of brown rice in the (2) cups of water pan and (2) cups of oats in the (3) cups of water pan (don’t forget to immediately reduce your heat on the oats to low and stir a lot so they don’t burn on the bottom!)
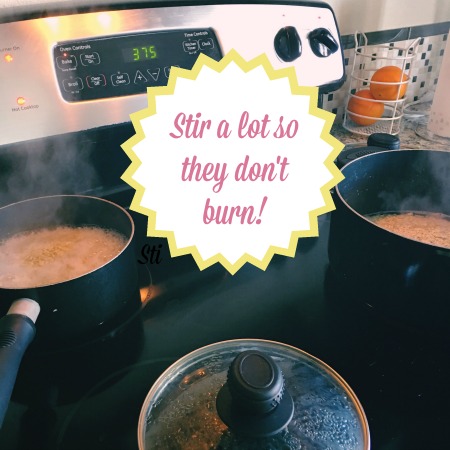 19. The turkey muffins should be done :) Take out and cool, while you reduce the oven to 350 and finish cooking the rice and oats (turn off both burners, put the lids back on, and let them simmer for two or three minutes – stirring/fluffing occasionally… watch out for those oats!)
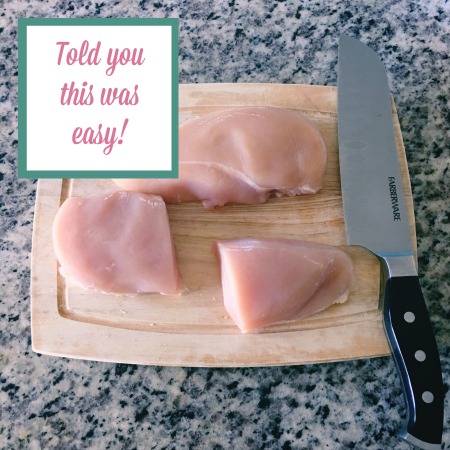
20. Chicken time! Cut two boneless, skinless chicken breasts in half
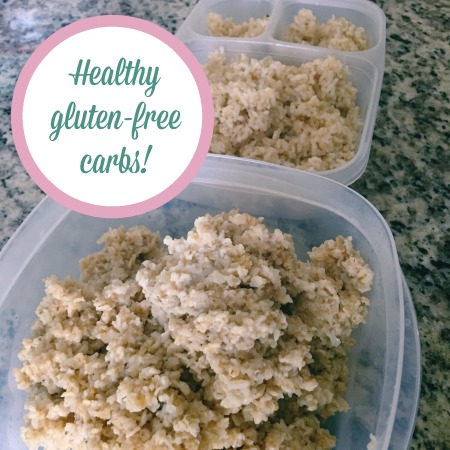
 21. Maybe pause to put the rice and oats into separate containers (you don’t want them to get too dry) – plus then you can soak the pans! #ImTurningIntoMyMother
 22. Back to chicken! I don’t know if this is normal, but I drizzle a pan with a tiny bit of extra virgin olive oil, put my chicken in, drizzle some more EVOO directly on the chicken (just a little!), and then add spices (onion powder, garlic pepper, and crushed red pepper) and a little lemon juice
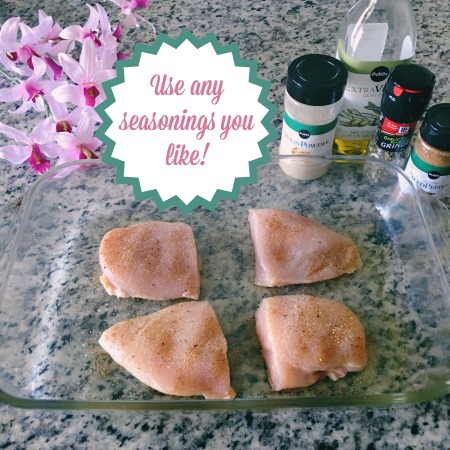 23. Once you’re ready, pop your chicken in the oven and set the timer for 45 minutes to one hour (depending on your oven)!
24. Now it’s time to tidy up a bit: Put your turkey muffins in plastic containers and finish any extra fruit/veggie prep (like putting green beans and carrots in the chicken containers)
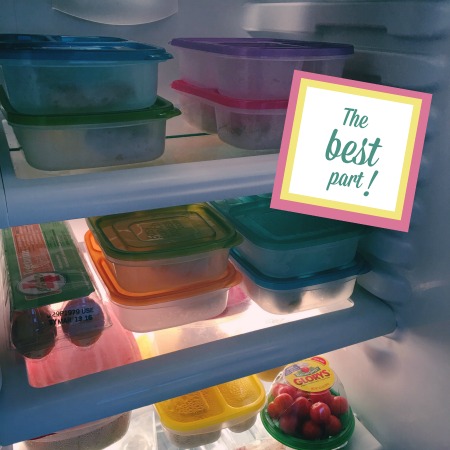
 25. If you’re like me, it’ll probably take you about 10 minutes to clean up. (I also like to flip the chicken halfway through.) That gives you about 20 minutes to take pictures of your perfectly organized frig and food (hello, Instagram!) before it’s time to take out the chicken :)
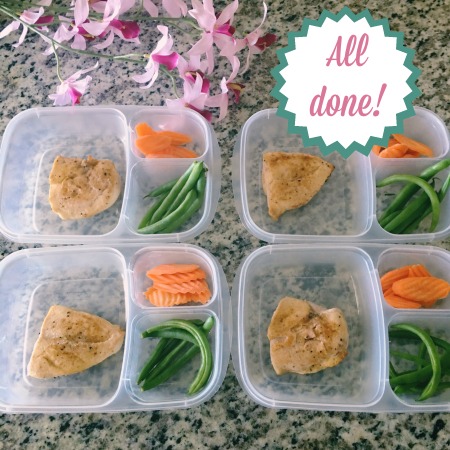
After that, simply portion out the chicken into containers with green beans and carrots, and you’re all done!
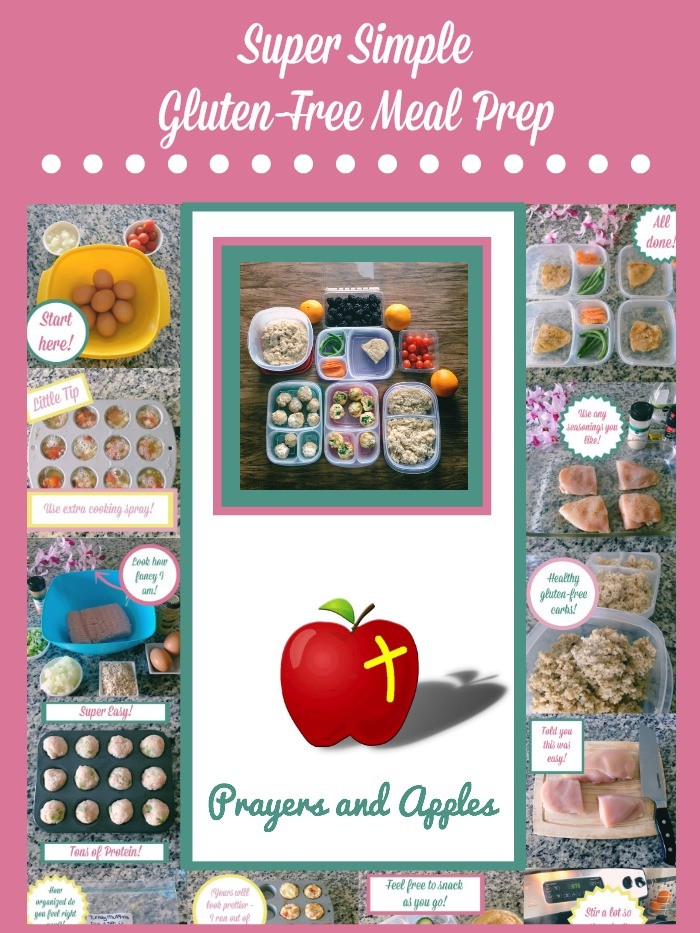
Gluten-free meal prep recap
The whole process, start to finish – with snapping pictures! – takes me right under 2 hours. (You might still have to wait a few minutes for the chicken to be done, but by that point you’re all cleaned up!)
Just a few last minute tips/notes:
I always drink (2) tbsp. of flaxseed oil every morning. I’m also trying to incorporate a lot more coconut oil into my diet (so you might want to experiment with using it in place of extra virgin olive oil). I cook my dinners fresh each night – so either steak, seafood or chicken – with a small salad (not pictured in the meal prep notes). I dip my mini egg muffins in ketchup and use (probably way too much!) organic BBQ sauce with my chicken and steak. And when I need some extra snacks, I make homemade popcorn (with olive oil and sea salt)!
I usually have (3) mini egg muffins each morning (you’ll have to make fresh ones after Day Four, but you should have some extra eggs left over). I also portion out roughly 1/4 cup of oatmeal with my breakfast, and 1/4 cup of brown rice with my chicken. I have (2) mini turkey muffins per serving with (5) cherry tomatoes, add a little vegetable broth to my chicken before heating it up, and try to stick to water only (occasionally flavored with Crystal Light).
Oh! And I also cheat and buy must of my produce pre-chopped/diced :)
Please let me know if you have any questions!
Hopefully today’s post makes going gluten-free a little less overwhelming! Like I said, I’m by no means an expert – but the meals in today’s post got me started, so I thought they might be helpful for other people as well :)
If you have any questions, please let me know in the comments section and I’ll do my best to help! ♥
Subscribe for free!
Thanks for reading! To receive updates on new posts, just enter your email address below! :)
Please note: In order to activate your subscription, you have to open the first email and click confirm ♥
You can also find Prayers and Apples on Facebook, Twitter, and Pinterest!
References
Werner, E.E. (1993). Resilience and recovery: Findings from the Kauai Longitudinal Study. Development and Psychopathology, 5(4): 503-515.


Best article ever! So happy for your gluten free success!!!?
Thanks, Dr. Ang! :) I was so excited for you to read it!! lol